There’s spooky, and then there’s spooky with style. Nothing says “Witch’s Lair Aesthetic” louder than a shelf full of glowing potion bottles. These are not your average DIY Halloween crafts. They look like they came straight out of a haunted apothecary, ready to bubble, brew, and maybe even curse your guests.
The best part? They are affordable, beginner-friendly, and give you endless ways to customize. Grab your craft supplies and let’s get to potion-making.
Supplies You’ll Need
- Empty bottles or jars (glass works best, but sturdy plastic is fine)
- Glow-in-the-dark paint or glow powder
- Acrylic paint in black, brown, or gray for distressing
- Printable potion labels (Etsy and Canva are great sources)
- Glue or Mod Podge
- Brushes or sponges
- Optional extras: LED tea lights, fairy lights, food coloring, spider webs, melted wax
Pro tip: Skip buying brand-new bottles. Recycling bins, thrift shops, and dollar stores are the best places to find quirky shapes.
Step 1: Distress the Bottles
A potion bottle should never look new. To create that “cursed and forgotten” effect:
- Use a sponge with black paint and dab around the neck, base, and edges.
- Smudge watered-down brown paint and let it drip for a dirt-stained look.
- Add texture by gluing on bits of tissue paper before painting. This creates cracks and peeling surfaces.
Why it works: Distressing turns a plain bottle into something that looks like it has a history and a dark story behind it.
Step 2: Potion Labels That Tell the Story
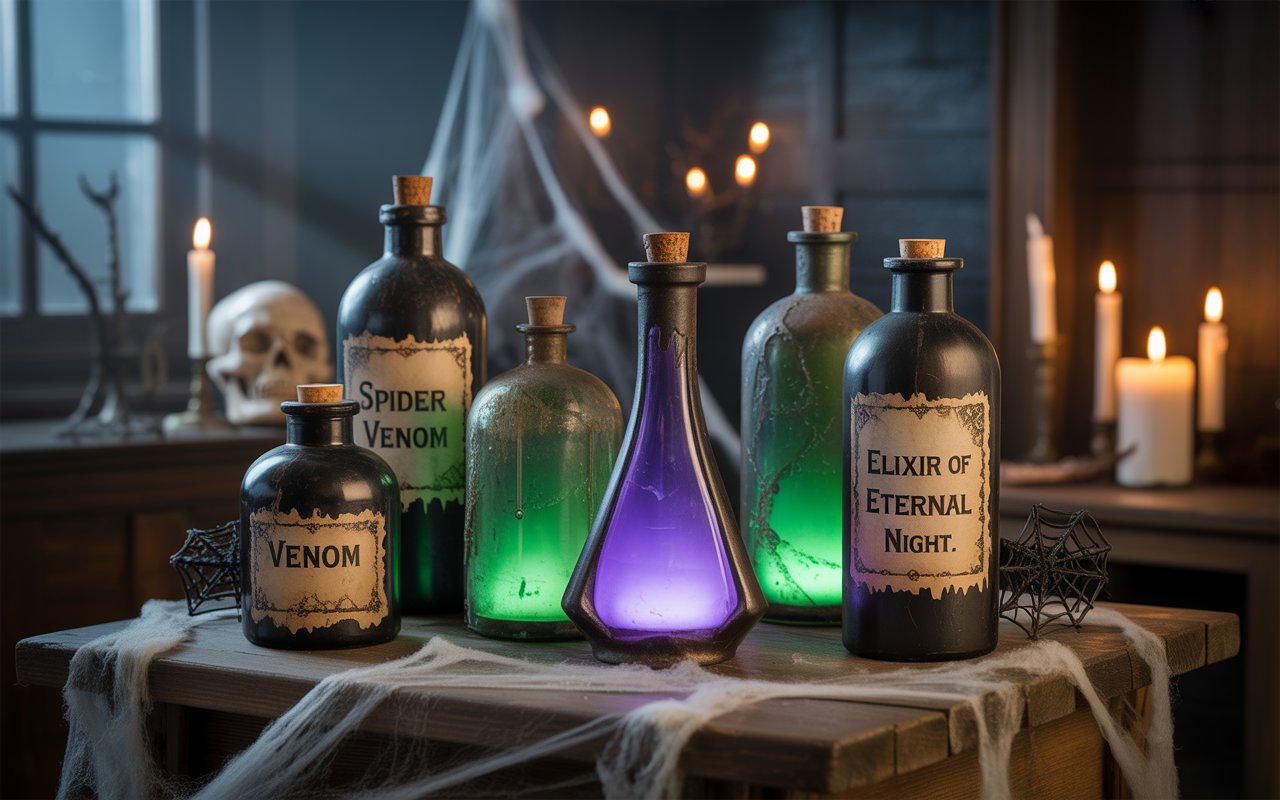
The label sells the idea. Go beyond “Potion” and choose names with personality, like:
- Spider Venom
- Elixir of Eternal Night
- Zombie Tonic
- Witch’s Brew
- Essence of Bat Wing
Print labels on parchment-style paper or tea-stain regular printer paper. Once glued on, brush over with watered-down paint for smudges and stains.
Reader hack: Burn the edges slightly for an ancient scroll effect. Be careful and do this over a sink.
Step 3: Add the Glow
This is where the magic happens. You can choose from several methods:
- Swirl glow-in-the-dark paint inside the bottle. Charge it under light and watch it glow.
- Mix glow powder with water or glycerin and pour it in. Shake for an eerie bubbling effect.
- Place LED tea lights or fairy lights inside for a steady glow.
- Add a few drops of food coloring for extra drama.
Why it works: When the lights go low, the glow makes your display feel alive. It instantly transforms your bottles from “cute DIY” to “haunted treasure.”
Step 4: Style the Display
Potion bottles look amazing on their own, but staging takes them from fun to unforgettable. Try these setups:
- Arrange bottles on a tray with cobwebs and a skull.
- Line them up on a mantel with dark candlesticks.
- Place them on stacks of books for a haunted library feel.
- Scatter bones, moss, or tiny spiders for extra creep factor.
- Use them as table centerpieces at a Halloween party.
Pro tip: Mix glowing bottles with real candles for layered light and a more dramatic atmosphere.
Extra Ideas to Try
- Melt red or black wax down the sides for a “sealed with blood” look.
- Write hidden messages with invisible UV ink that only show under blacklight.
- Make mini potion bottles as party favors.
- Place bottles on a tray with a hidden vibrating phone to give them a subtle “shaking” effect.
Final Thoughts
Creepy glowing potion bottles are the perfect Halloween DIY because they are customizable, affordable, and eye-catching. You can go whimsical with glitter and color or gothic with cracked paint and eerie green glow.
The trick is to play around and let your imagination run wild. There are no rules in potion-making. When your guests see your glowing bottles, they will think you raided a witch’s cupboard.


