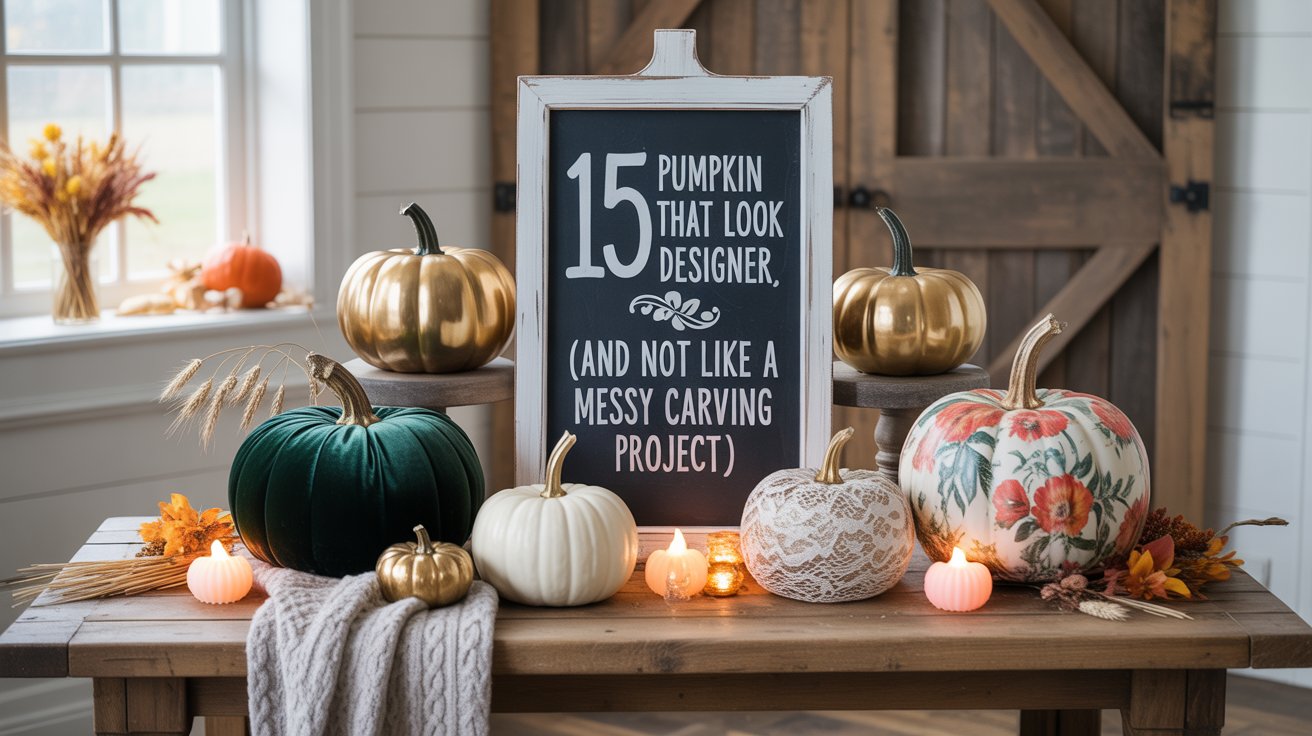
Carved pumpkins are classic, but let’s be honest. The mess, the cleanup, and the short lifespan can make them more hassle than fun. The good news is that there are so many creative ways to decorate pumpkins that don’t involve carving at all. These no-carve pumpkin DIYs look polished, last longer, and can easily be customized to match your style.
Whether you want something cozy for your mantel, stylish for your dining table, or bold for your front porch, these ideas prove pumpkins can be chic, affordable, and completely Pinterest-worthy.
Step 1: Painted Neutral Pumpkins
Instead of the usual bright orange, think soft, neutral tones that blend seamlessly with modern fall décor. Painted pumpkins have become one of the most popular DIY pumpkin ideas because they’re simple, affordable, and give you total creative freedom.
- What you need: Real or faux pumpkins, acrylic paint in white, beige, gray, or black, foam brushes.
- How to do it: Wipe pumpkins clean, then paint two coats for even coverage. Use chalk paint if you want a matte finish.
- Extra tip: Add thin white lines down the ridges for a farmhouse-inspired look.
- Why it works: Neutral pumpkins fit with any décor style, from modern minimal to rustic farmhouse, and instantly look more high-end.
Step 2: Velvet-Wrapped Pumpkins
Velvet pumpkins are sold in high-end décor shops every fall, but you can make your own for a fraction of the price. The soft texture adds a cozy, luxe feel to your display and looks amazing grouped together.
- What you need: Faux pumpkins, velvet fabric scraps, scissors, hot glue gun.
- How to do it: Cut velvet into large squares, wrap around pumpkins, and tuck the fabric into the stem. Secure with glue if needed.
- Extra tip: Use rich jewel tones like emerald, burgundy, and navy for a designer look.
- Why it works: The texture of velvet feels expensive and adds depth to your fall styling.
Step 3: Gold Leaf Pumpkins
If you want pumpkins that shimmer and shine, gold leaf is the way to go. This DIY makes pumpkins feel like art pieces rather than seasonal décor.
- What you need: Faux pumpkins, gold leaf sheets, adhesive, brush, and sealer spray.
- How to do it: Apply adhesive where you want the gold, press leaf sheets gently, and brush away excess. Seal with clear spray.
- Extra tip: Cover only the top half for a “dipped in gold” effect.
- Why it works: Metallic accents bring elegance to your fall setup and catch the light beautifully.
Step 4: Decoupage Napkin Pumpkins
Decoupage lets you turn plain pumpkins into patterned masterpieces using nothing more than napkins and glue. It’s a great way to match your pumpkins to your home’s color scheme.
- What you need: Patterned napkins, Mod Podge, scissors, foam brush.
- How to do it: Separate napkins into single layers, cut out designs, and apply with Mod Podge. Smooth gently to avoid wrinkles.
- Extra tip: Choose floral napkins for a romantic cottage look or plaid for a cozy fall vibe.
- Why it works: This DIY is budget-friendly and gives you endless design options.
Step 5: Chalkboard Pumpkins
Chalkboard pumpkins are fun, interactive, and can be used again and again. Kids love doodling on them, and adults can use them as seasonal message boards.
- What you need: Craft pumpkins, chalkboard paint, brush, chalk or chalk pens.
- How to do it: Paint pumpkins with chalkboard paint, let dry, and draw designs or write phrases.
- Extra tip: Use them as place markers on your Thanksgiving table.
- Why it works: You can change the design as often as you want, making these pumpkins reusable all season.
Step 6: Sweater-Covered Pumpkins
This DIY is perfect for repurposing old sweaters. The knit texture makes pumpkins feel cozy and ties beautifully into fall décor.
- What you need: Old sweaters, scissors, faux pumpkins, hot glue.
- How to do it: Cut sweater sleeves, pull them over pumpkins, and tuck ends inside. Secure with glue if needed.
- Extra tip: Choose chunky knits in cream or gray for a farmhouse look.
- Why it works: It’s affordable, sustainable, and adds texture that feels warm and inviting.
Step 7: Metallic Spray-Painted Pumpkins
If you’re short on time, this is the easiest way to get a designer look. Metallic spray paint instantly transforms pumpkins into chic décor.
- What you need: Real or faux pumpkins, metallic spray paint in gold, silver, or copper.
- How to do it: Spray outdoors on cardboard, apply two light coats, and let dry completely.
- Extra tip: Mix finishes like matte and glossy for variety.
- Why it works: Metallics give pumpkins a polished, modern look with minimal effort.
Step 8: Dried Flower Pumpkins
This DIY brings in natural beauty and texture. Adding dried flowers gives pumpkins a romantic, organic touch.
- What you need: Faux pumpkins, dried flowers, hot glue.
- How to do it: Glue flowers around the stem or create a cascading design down the side.
- Extra tip: Choose muted colors like cream, blush, and sage for a sophisticated palette.
- Why it works: It combines rustic charm with elegance, making your pumpkins stand out.
Step 9: Stenciled Pumpkins
Stencils are the easiest way to get crisp, professional-looking designs without carving.
- What you need: Stencils, painter’s tape, acrylic paint, sponge brush.
- How to do it: Tape stencil onto pumpkin, dab paint lightly, then peel away.
- Extra tip: Personalize pumpkins with initials or seasonal words like “harvest” or “thankful.”
- Why it works: Stenciling gives consistent results and makes pumpkins look polished.
Step 10: Gingham Pumpkins
This playful pattern works beautifully in farmhouse-style décor. A gingham pumpkin instantly feels cheerful and seasonal.
- What you need: Acrylic paint in two colors, painter’s tape, sponge brush.
- How to do it: Tape stripes vertically and paint. Once dry, tape horizontal stripes and add the second color.
- Extra tip: Stick with neutrals for a chic look or go classic with black and white.
- Why it works: The pattern ties in perfectly with cozy fall settings like tablescapes or mantels.
Step 11: Marbled Pumpkins
Marbling creates a unique, one-of-a-kind effect every time. It’s trendy and looks more complicated than it is.
- What you need: Bucket of water, nail polish, gloves, toothpick, faux pumpkin.
- How to do it: Drip polish onto water, swirl gently, and dip pumpkin in carefully.
- Extra tip: Metallic nail polish makes the effect even more striking.
- Why it works: No two pumpkins look alike, so your display feels artistic and custom.
Step 12: Fabric-Covered Pumpkins
Fabric pumpkins are soft, colorful, and completely customizable.
- What you need: Fabric squares, twine or rubber bands, faux pumpkins.
- How to do it: Wrap fabric tightly around the pumpkin, secure at the top, and tuck in edges.
- Extra tip: Use plaid for a cozy farmhouse feel or bold prints for a playful touch.
- Why it works: It’s affordable, reusable, and lets you match pumpkins to your home’s style.
Step 13: Ombre Pumpkins
Ombre is a design trend that always catches the eye. It’s perfect if you love a bold statement piece.
- What you need: Acrylic paint in three shades of the same color, sponge brush.
- How to do it: Start with lightest at the top, blend into medium, then darkest at the bottom.
- Extra tip: Teal, navy, or burgundy ombre looks especially chic.
- Why it works: Creates depth and a designer-inspired finish that makes pumpkins stand out.
Step 14: Lace Pumpkins
Lace is delicate, unexpected, and instantly elevates a pumpkin’s look.
- What you need: Lace fabric, Mod Podge, scissors, brush.
- How to do it: Wrap lace around pumpkin, apply Mod Podge to seal, and let dry.
- Extra tip: Black lace over white pumpkins makes a chic Halloween statement.
- Why it works: Adds texture and sophistication, perfect for a mantel or centerpiece.
Step 15: Candle Holder Pumpkins
These pumpkins are both decorative and functional, creating warm, cozy light for fall evenings.
- What you need: Faux craft pumpkins, LED tea lights, craft knife or drill.
- How to do it: Cut small holes in pumpkins, place LED lights inside, and turn them on.
- Extra tip: Group several candle pumpkins in different sizes for maximum effect.
- Why it works: They add a magical glow while still being safe for indoors.
Quick Recap
- Painted, velvet, and sweater pumpkins bring in cozy texture.
- Metallic, gold leaf, and ombre pumpkins create a chic, designer-inspired look.
- Floral, lace, and decoupage pumpkins feel custom and high-end.
- Candle and chalkboard pumpkins add function and creativity.
Final Thought
Pumpkins don’t have to be messy or temporary to make an impact. These 15 no-carve pumpkin DIYs will last all season, work with any decorating style, and make your home feel instantly cozy and stylish. Whether you choose velvet for a luxe touch, metallics for a modern vibe, or gingham for farmhouse charm, you’ll end up with pumpkins that look like they came from a designer shop without spending a fortune.


